Easy Guide to Set Up the Form Tracking Script
1. Script Waits for the Page to Load
What You Need to Do:
Nothing! The script knows to wait until your page is fully loaded before it runs.
Just make sure you place the script after your form </form> or at the very end of your page, just before the </body> tag.
2. Add the Tracking Script to Your Page
What You Need to Do:
Copy and paste this script at the bottom of your page </body> or right after your form </form>, wherever the form is available on the page:
3. Add a Form and Submit Button
What You Need to Do:
Create a form with this Class: urlpt_form
Add a button inside it with this Class: urlpt_form_btn
<button type="button"class="urlpt_form_btn">Submit</button>
</form>
"OR" If you have multiple classes, you can add them like this
</form>
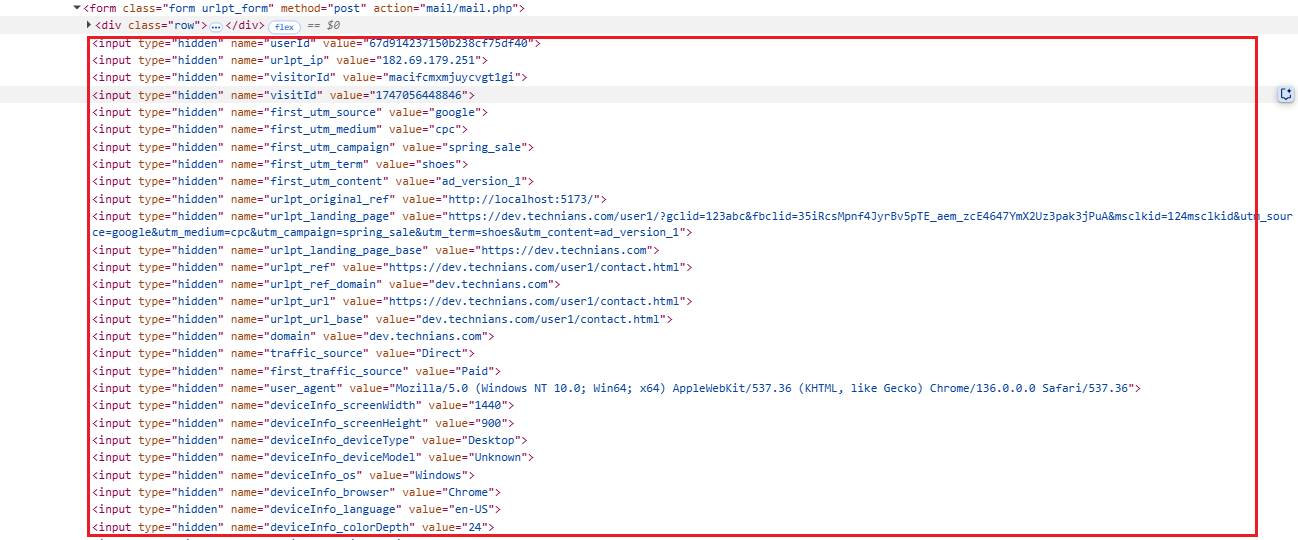
4. Extra Fields Are Handled for You
What Happens Automatically:
The script will add hidden fields to your form — like visitor ID, user ID, and more (up to 39 data points). You do not need to add these yourself.
5. What Happens When Someone Clicks Submit
What the Script Does:
- Grabs everything typed into your form
- Collects info from the browser (like cookie data and user ID)
- Sends all of this to a server as a single package
Sends all of this to a server as a single package
6. What Happens After Submission
What the Script Does:
- Shows a success or error message in your browser’s console (great for developers to check)
- If something goes wrong, it will log the error so it’s easier to fix
- Also registers the submission in both Contact and Conversion records for tracking and analytics.